
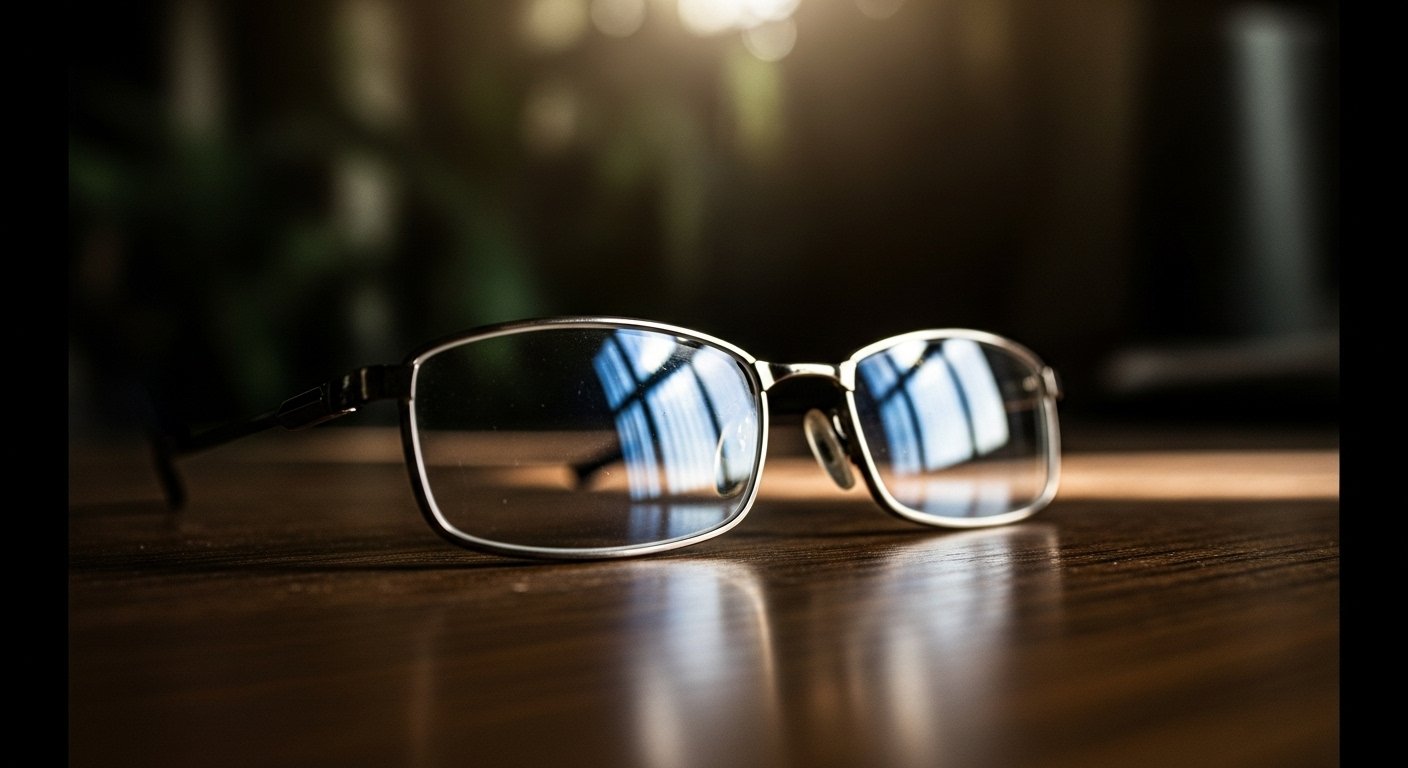
If you’ve ever sat down to film a video only to notice two bright circles of light glaring off your glasses, you know how distracting reflections can be. Not only do they obscure your eyes—making it harder for viewers to connect with you—but they also give your video a less professional appearance.
The good news? You don’t need to give up your glasses, invest in expensive studio setups, or spend hours editing out the problem. By learning a few lighting tricks, you can minimize (or even eliminate) reflections while still keeping your setup simple and affordable.
In this article, we’ll cover five simple video lighting tips to avoid reflection in glasses. Along the way, we’ll also touch on why glare happens, what gear you might consider, and how to tweak your filming space for the best results.
Whether you’re a YouTuber, a course creator, a business professional making Zoom presentations, or just someone who wants to look better on camera, these strategies will help you record videos that are clear, distraction-free, and more engaging.
Why Glasses Reflections Happen
Before we dive into the solutions, it helps to understand the problem. Reflections in glasses are caused by light sources bouncing directly into the lenses, then reflecting back into the camera. The more direct the path between light → glasses → camera, the stronger the glare.
Some common reasons glasses glare shows up on camera include:
- Flat, head-on lighting (like a ring light placed right in front of you).
- Highly reflective lenses (not all coatings are equal).
- Camera positioned at the same level as the light.
- Shiny environments (like glossy monitors, whiteboards, or windows).
Knowing this, the solutions mostly revolve around changing the angle of light and adjusting your setup so the light illuminates your face without bouncing directly back into the lens.
Tip 1: Move Your Lights Off-Axis
The biggest mistake beginners make is putting a bright light—like a ring light—directly in front of their face, at the same level as the camera. This almost guarantees two glowing circles on your glasses.
Instead, the trick is to place lights off-axis—meaning slightly to the side, above, or below the camera’s line of sight.
How to Do It:
- Move your light source a little higher than eye level, angled down toward you at about 30–45 degrees.
- Alternatively, place the light slightly to the left or right of the camera, again at about 30–45 degrees.
- Think of the light like the sun—when it’s directly overhead or behind your head, it causes glare, but when it’s at an angle, it looks natural.
Why It Works:
By shifting the light away from the camera’s direct line of sight, you break the light-glasses-camera triangle that creates reflections. Your glasses may still catch some light, but it will bounce away instead of straight into the lens.
Practical Example:
If you’re filming a YouTube video at your desk, instead of sticking your ring light directly behind your webcam, move it slightly above and to the side. You’ll still get a bright, flattering look, but without the distracting glare.
Tip 2: Use Larger, Softer Light Sources
Harsh, small lights (like a bare bulb, phone flashlight, or small LED panel) tend to create sharp, strong reflections. A larger, diffused light source spreads the light more evenly and makes any potential reflections softer and less noticeable.
How to Do It:
- Use a softbox or umbrella diffuser to spread your light.
- If you don’t have one, you can improvise: shine your light through a white bedsheet, shower curtain, or piece of parchment paper.
- Place the light close to you—the closer a soft light is, the softer it appears.
Why It Works:
Soft light reduces the intensity of reflections, making them blend in more with the natural highlights of your face. Instead of a sharp circle or square in your glasses, you may just get a faint, natural-looking glow that viewers won’t notice.
Practical Example:
Instead of pointing a bare LED panel at your face, attach a diffuser or bounce the light off a white wall. Suddenly, the glare disappears, and your whole setup looks more cinematic.
Tip 3: Angle Your Glasses Slightly
This one might sound strange, but even a tiny tilt of your glasses can change the way they catch light. By adjusting the angle just a little, you can redirect reflections away from the camera.
How to Do It:
- Tilt the front of your glasses slightly downward. You don’t need to exaggerate—just a 2–3 degree tilt can make a huge difference.
- Some people use small, stick-on nose pads to raise the frame slightly, which changes the lens angle.
- If you’re comfortable, you can also lower your chin just a little (without looking unnatural) to change the reflective path.
Why It Works:
Glasses work like mirrors. By tilting them, you’re changing where the “mirror” points, so light bounces down or to the side instead of straight into the lens.
Practical Example:
Think about how you tilt a phone screen to avoid glare from overhead lights. Your glasses behave the same way. The key is making the adjustment subtle enough that viewers don’t notice.
Tip 4: Adjust Camera and Monitor Placement
Sometimes the problem isn’t just the light—it’s the camera and monitor. If your camera is placed directly behind a glowing screen or at the same height as your lighting, reflections are almost unavoidable.
How to Do It:
- Raise your camera slightly above eye level and angle it downward.
- Place your monitor lower or dim its brightness to reduce glow.
- If you’re using a laptop webcam, consider putting the laptop on a stack of books and using a separate keyboard/mouse so you can control angles.
- Experiment with small shifts—sometimes even moving the camera a few inches makes all the difference.
Pro Tip: For a quick visual demonstration of how camera and light angles affect glasses glare, check out this YouTube guide: The Easy Way to Light People With Glasses and Avoid Glare
Why It Works:
Your camera’s position determines the angle at which it “sees” reflections. By separating the camera’s line of sight from your light sources, you reduce overlap.
Practical Example:
If you’re recording a Zoom meeting and the ring light is right behind your webcam, move the webcam slightly higher and the light slightly to the side. This changes the geometry enough to eliminate glare.
Tip 5: Embrace Multiple Light Sources
One light is often the culprit behind harsh reflections. By using multiple lights at lower intensities, you can create even illumination without needing one blinding light in your face.
How to Do It:
- Use a key light (main light) off to one side, angled at 30–45 degrees.
- Add a fill light on the other side at a lower brightness to soften shadows.
- If possible, add a back light behind you to separate you from the background.
- You can use cheap clip-on lamps, desk lamps, or LED panels for this—just balance their intensity.
Why It Works:
Multiple lights let you spread out the brightness without blasting your glasses with a single beam. The reflections are weaker, softer, and often disappear entirely.
Practical Example:
Instead of one strong ring light, use two desk lamps—one angled from the left, one from the right. Both lights are softer, and together they create balanced illumination that looks natural on camera.
Bonus Tips
While the five main tips above will solve most reflection issues, here are a few extra tricks:
- Anti-reflective coating: If you’re getting new glasses, ask for lenses with anti-reflective (AR) coating. They drastically reduce glare.
- Matte environments: Shiny desks, whiteboards, or windows can bounce light into your glasses. Cover or reposition them.
- Polarizing filters: Some camera lenses allow polarizing filters, which cut reflections in certain scenarios (though not always effective for glasses).
- Practice with test shots: Every face, frame, and light setup is different. Take a minute to record short clips and check for glare before your real shoot.
Common Mistakes to Avoid
When trying to solve glare problems, many creators accidentally make things worse. Here are mistakes to avoid:
- Placing lights directly behind the camera: Guaranteed glare.
- Using bare bulbs or harsh LEDs: Too sharp, too bright.
- Overexposing your face: If your light is too strong, reflections intensify.
- Ignoring background lighting: Even a lamp in the wrong spot behind you can reflect in your glasses.
- Trying to fix everything in editing: It’s nearly impossible to edit out glasses glare convincingly. Lighting is the solution.
Putting It All Together
If you want a step-by-step plan to eliminate glare, here’s a simple workflow:
- Set up your main light off to the side and slightly above your head.
- Soften it with a diffuser, softbox, or bounce method.
- Position your camera a little above eye level.
- Check your glasses angle—a tiny tilt may help.
- Add a second light or adjust brightness for balance.
- Do a quick test recording to confirm glare-free results.
Within a few minutes, you’ll have a lighting setup that makes your glasses practically invisible to glare.
Final Thoughts
Wearing glasses shouldn’t hold you back from creating professional-looking videos. With a few adjustments to your lights, camera, and setup, you can look polished and confident on screen—without distracting reflections stealing the show.
The key is understanding that light behaves predictably. Once you know how angles, diffusion, and intensity work, you can control glare just like the pros.
So the next time you sit down to film, try one or two of these tips. Experiment, adjust, and record test shots until you find the sweet spot. With practice, you’ll be able to set up a glare-free video lighting environment in minutes.
If you need extra lighting for your setup, read my thoughts on best lighting for podcasting here.
Popular Posts
Follow YT Torials:

No responses yet