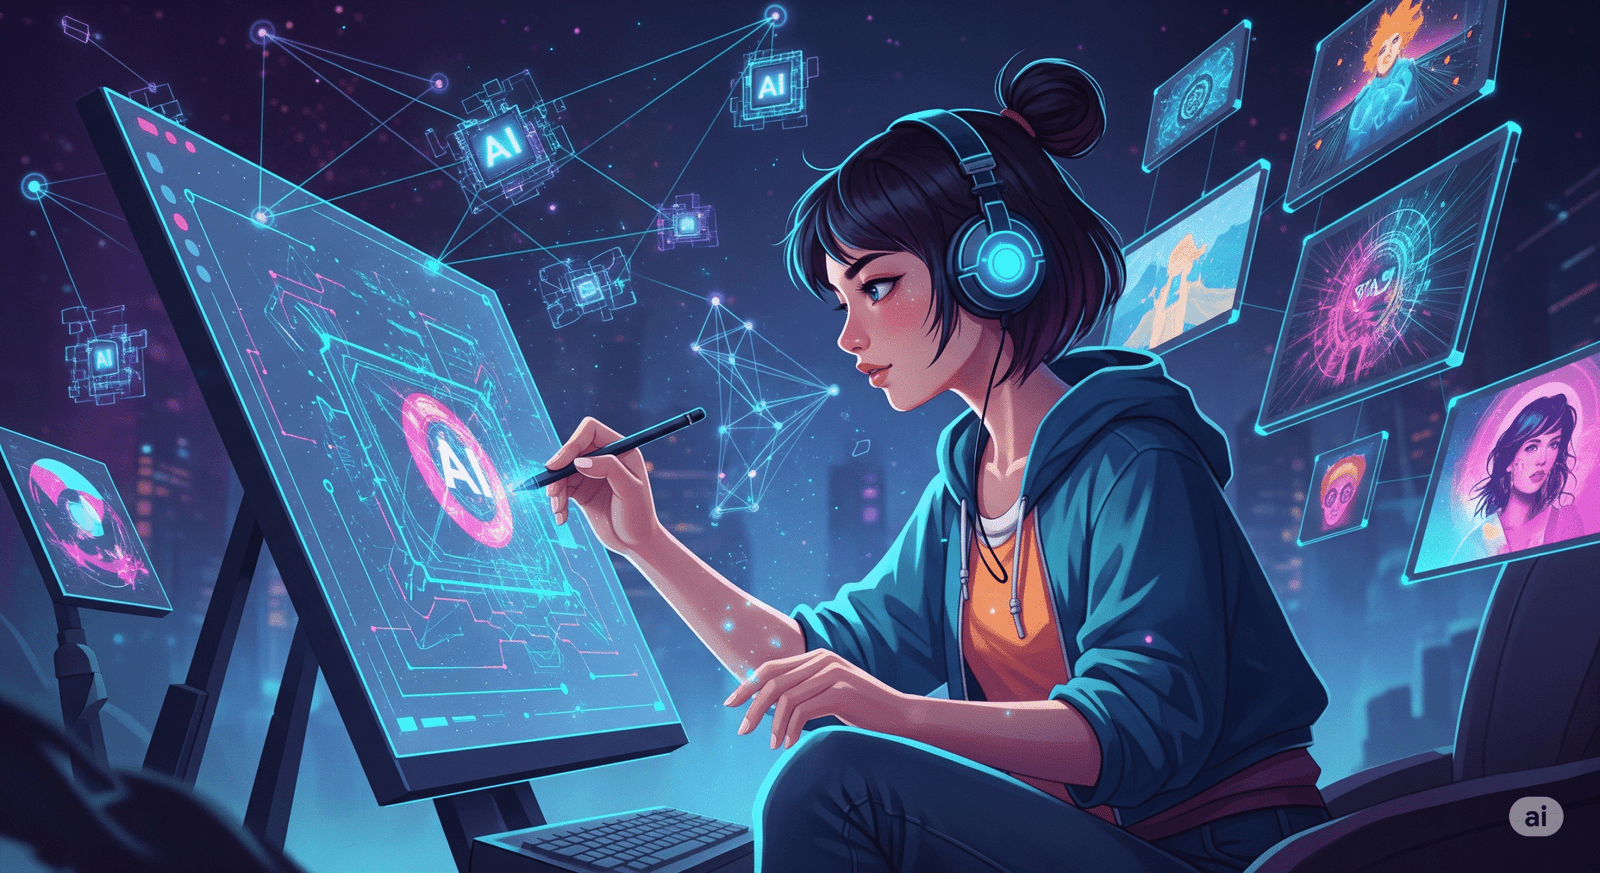
Remember when creating a custom image meant hours of design work, costly stock photo subscriptions, or hiring a professional artist? Well, welcome to the future! Artificial Intelligence (AI) has revolutionized the creative landscape, making it possible for anyone to generate stunning, unique images in mere seconds – often with just a few clicks and some well-chosen words.
This guide will walk you through the surprisingly simple process of using AI to bring your visual ideas to life, no design degree required!

What is AI Image Generation?
At its heart, AI image generation uses sophisticated algorithms, trained on vast datasets of images and text, to understand and interpret your prompts. When you describe what you want to see, the AI doesn’t just pull up an existing image; it creates a brand new one based on its understanding of your words, style cues, and the underlying data. It’s like having a lightning-fast, endlessly imaginative artist at your beck and call.
The Magic Behind the Clicks: Text-to-Image AI
The most common and user-friendly form of AI image generation is “text-to-image.” You provide a written description (your “prompt”), and the AI synthesizes an image to match. Tools like Midjourney, DALL-E 3 (integrated into various platforms like ChatGPT Plus), Stable Diffusion, and others operate on this principle, each with its unique strengths and artistic style.
Step-by-Step: Generating Your First AI Image
The exact interface might vary slightly between platforms, but the core process remains largely the same:
Step 1: Choose Your AI Image Generator
There are many fantastic AI image generators available, some free, some paid, and some with credit systems. Popular choices include:
- Midjourney: Known for its artistic and often fantastical outputs. (Typically accessed via Discord).
- DALL-E 3: Excellent at understanding complex prompts and text generation within images. (Often integrated into ChatGPT Plus, Microsoft Copilot).
- Pixlr: Open-source and highly customizable, with many variations and local installation options.
- Adobe Firefly: Integrated into Adobe creative suite, focusing on commercial-use safety.
- Canva’s Text to Image: A simple option integrated into a popular design tool.
For this guide, assume you’ve accessed a platform with a text input field for image generation.
Step 2: Understand the Interface (It’s Simpler Than You Think)
Most AI image generators will present you with a straightforward interface:
- A text input box where you’ll type your prompt.
- A “Generate” or “Create” button.
- Sometimes, style options (e.g., “photorealistic,” “anime,” “painting”) or aspect ratio settings.
- An area where your generated images will appear.

Step 3: Craft Your Prompt (The Art of Description)
This is the most critical step. The quality of your output heavily depends on the quality of your prompt. Think of yourself as directing a very imaginative but literal artist.
Basic Prompt Example: a boy at the beach
This will give you a boy at the beach. Like the 2 photos shown above. But let’s get more specific…

Step 4: Add Detail and Style (Unleash Your Inner Director)
To get closer to your vision, add descriptive adjectives, stylistic cues, and compositional notes.
Improved Prompt Example: a black boy, wearing a white shirt and black shorts, running in the sand, at a beach, sunset, photorealistic, cinematic lighting, 8k
- Subject:
a black boy - Action/Context:
wearing a white shirt and black shorts,running in the sand - Setting:
at a beach, sunset - Style/Quality:
photorealistic, cinematic lighting, 8k
Step 5: Choose Styles/Settings (If Available)
Some tools offer pre-set styles or sliders for different parameters. Experiment with these! For example, you might select an “Anime” style or choose a specific aspect ratio like “16:9” for wide-screen images.
Step 6: Generate and Refine
Hit the “Generate” button! In a matter of seconds, the AI will present you with several variations of your image.
- Review: Look at the generated images. Do any come close to your vision?
- Refine: If not, adjust your prompt. Add more details, remove confusing words, change styles, or iterate on what worked well from a previous generation. This iterative process is key.
- Variations/Upscaling: Many tools offer options to generate variations of a promising image or upscale it to a higher resolution.
Step 7: Download and Use
Once you have an image you love, simply download it. Most platforms provide high-resolution downloads suitable for various uses.

Tips for Better AI Image Generation Results:
- Be Specific and Concise: Avoid vague language. “A happy dog” is less effective than “A golden retriever puppy playfully jumping in a sunny field, happy expression, shallow depth of field.”
- Use Keywords for Style: Add terms like “digital art,” “oil painting,” “watercolor,” “cyberpunk,” “steampunk,” “fantasy art,” “minimalist,” “isometric,” “hyperrealistic,” etc.
- Specify Composition: “Close-up,” “wide shot,” “from above,” “full body,” “portrait,” “landscape.”
- Describe Lighting: “Golden hour,” “dramatic lighting,” “soft light,” “neon glow,” “dark and moody.”
- Mention Artists/Styles (Carefully): “in the style of Van Gogh” or “like a Pixar movie” can yield interesting results, but be mindful of copyright and ethical considerations.
- Iterate, Iterate, Iterate: Don’t expect perfection on the first try. Tweak your prompt slightly and generate again.
- Use Negative Prompts: Some tools allow you to specify what you don’t want to see (e.g.,
_--no blurry --text).
The Power and Potential
AI image generation is a game-changer for:
- Content Creators: Quickly generate featured images for blogs, social media posts, or YouTube thumbnails.
- Marketers: Create unique visuals for ads, banners, and promotional materials without extensive design budgets.
- Designers: Rapidly prototype ideas, create mood boards, and generate unique textures or elements.
- Artists: Break through creative blocks, explore new styles, or use AI-generated images as a starting point.
- Anyone: Simply for fun and personal expression!
While the technology is still evolving, its accessibility means that unleashing your visual imagination is now just a few clicks away. Dive in, experiment, and prepare to be amazed by what you can create! You can get even more out of AI tools. Check out this article on the top AI video editing tools.


No responses yet