
Using transitions from Mixkit is pretty easy once you learn the process. After trying it out for yourself a few times, you’ll be a master at it.
First thing you’ll need to do is find a transition you’ll want to use. You can see that there are 2 types of files you can download. Motion graphics(mogrt) and Premiere project files.
Simply click on the download icon and your transition will start downloading. You will need a program to unzip files if you don’t already have one.
If that is the case, you can check out Winzip. Once you have extracted the files wherever you want them, go into Premiere Pro.
Open your project or start a new one. There are 2 different ways to import transitions, 1 for Mogrt files and 1 for project files.
Then there are 2 ways to get project files to work. With assets and without.

METHOD #1: Install Motion Graphics file
After starting or opening a project, look for the effects tab in the menu at the top in the center. Selecting this will open up the effects panel on the right.
In the effects panel, open essential graphics. On the bottom right, you’ll see a icon to import motion graphics templates. From here all you need to do is find your file and select it to install it into premiere.
You’ll be able to find in this panel (essential graphics) from now on. You can also install your mogrt files by dragging it from a folder and dropping it into essential graphics.
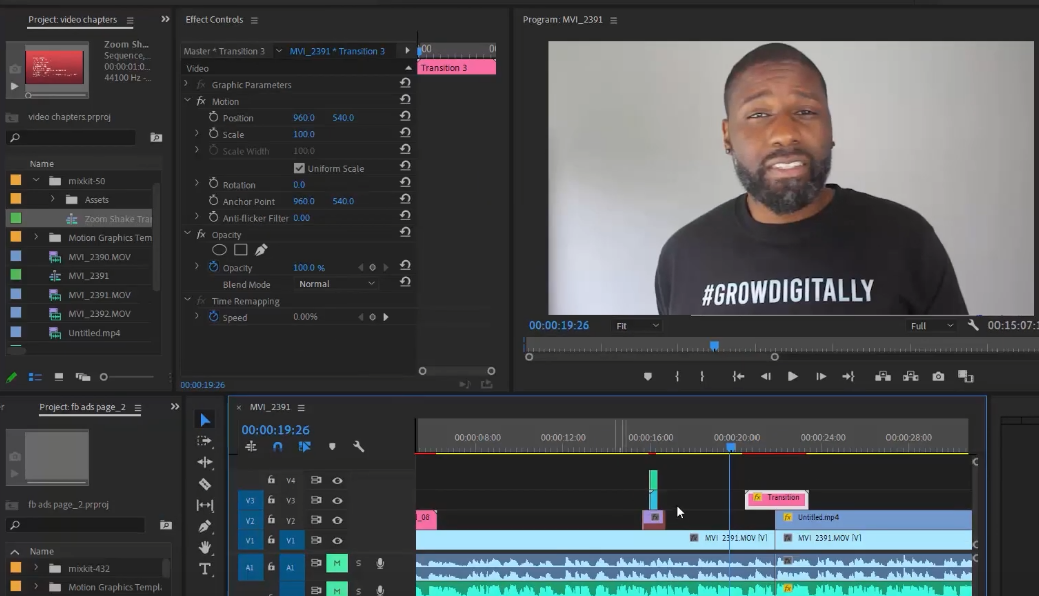
Once you find your template, click and drag it into your project’s sequence. You can edit your template by selecting it in the sequence.
METHOD #2: Using a project file without assets
You can import a project file the same way you import other assets such as videos, music etc.
In your project panel, you can drag and drop the file or double click to find and import the file.
Import project will open up for you. You want to select the options you see above and click OK. You may be asked about a preview file that can’t be located.
If this is the case, you can use locate to find the other file that was downloaded with the project file in your computer.
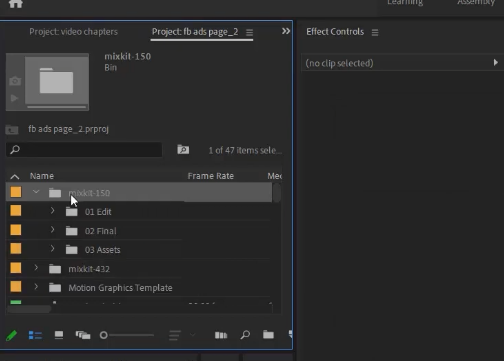
When finished, a new folder will be in your project panel. Expand the folder to find a sequence that (probably) is named the imported transition.
Drag and drop that transition into your project’s sequence.
The bottom clip is the preview file. You can choose to hide or delete this clip and you’ll be left with the transition!
It is a good idea to render the transition to make sure that it works smoothly.
METHOD #3: Using a project file with assets
You will be importing this project file the same way as method 2. To get it to work in Premiere will be a little different.
In my sample I have already imported a transition. This one has 3 folders. All with a different sequence.
What you need to do is open the sequences in the “01 edit” folder and change the clips to one of my choosing.
You can open the sequence by double clicking on it.
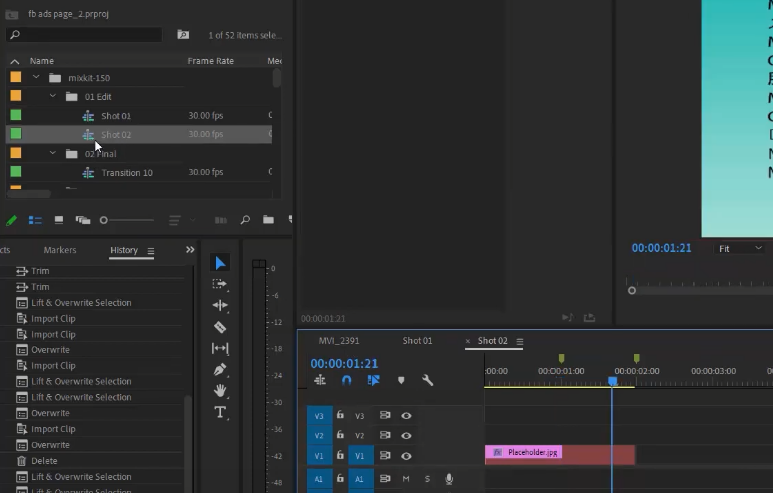
In those transition sequences, you can see 2 green markers. It shows where the transition starts and ends.
Place your clips as necessary to get the desired look. The last thing to do is go into the “02 final” folder to drag and drop the transition into the project sequence.
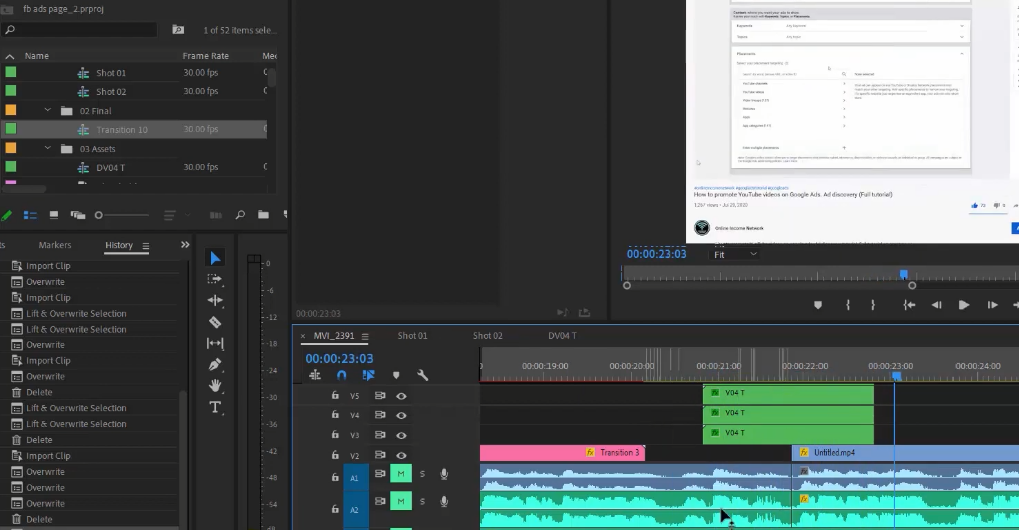
All folders in a transition project won’t be called the same thing. “shot 01” in this instance may be called “placeholder 01” or something else similar.
With the knowledge you’ve gained from this tutorial, I’m sure you’ll be able to figure that out.

No responses yet