
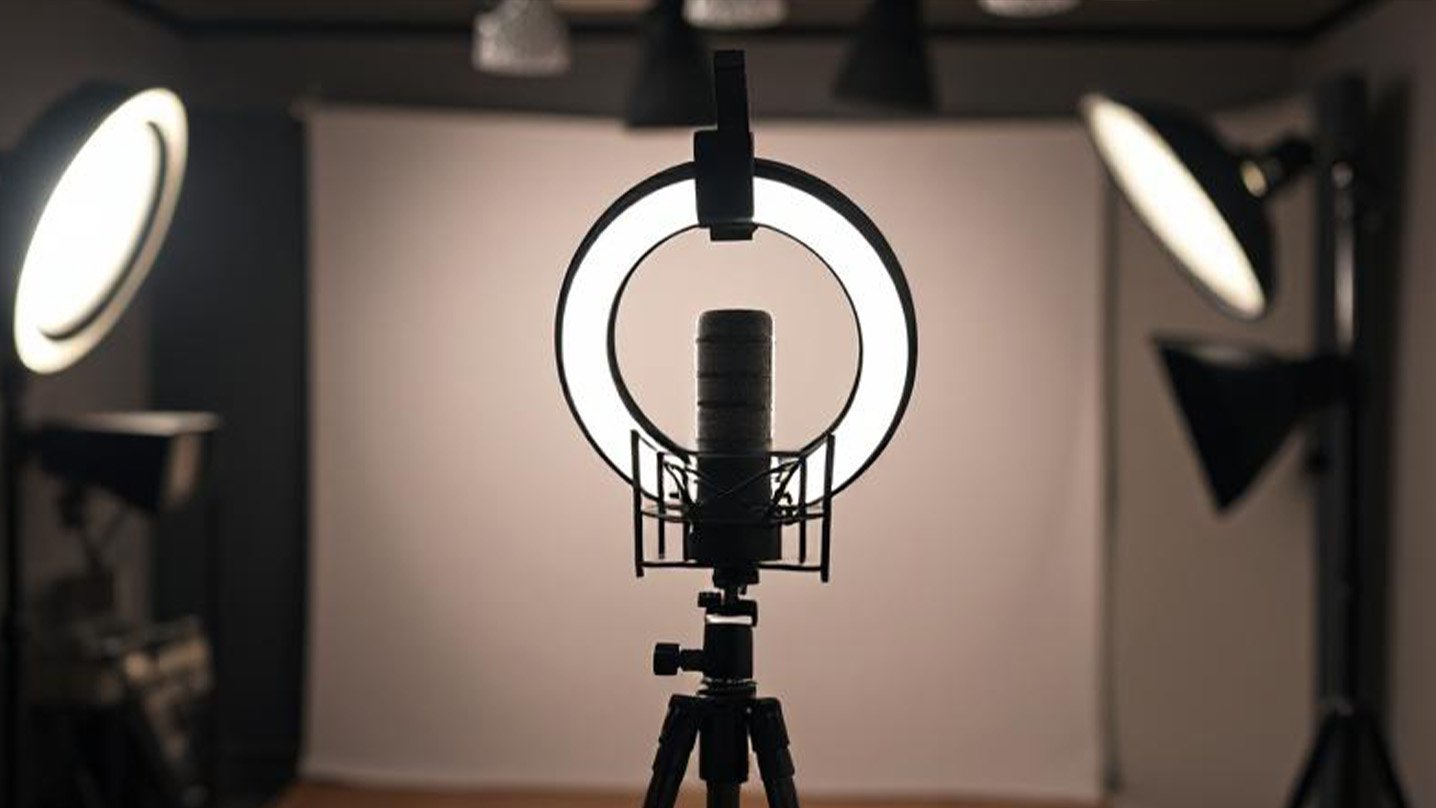
Lighting is arguably the most critical element in video production, often more so than your camera or lens. Great lighting can transform a simple shot into a cinematic masterpiece, while poor lighting can make even the most expensive gear look amateurish. But optimizing your video lighting isn’t just about throwing more lights at your subject; it’s about understanding how light behaves and using it intentionally.
Here are essential tips to help you optimize your lighting and elevate the quality of your videos:
1. Embrace the Power of Natural Light (When Possible)
Before investing in expensive artificial lights, look around you. Natural light, especially from a large window or outdoors on a cloudy day, can be incredibly flattering and cost-effective.
- Positioning is Key: Place your subject facing a large window. This provides a soft, diffused light source that minimizes harsh shadows. Avoid having a window behind your subject, as this will create a silhouette.
- Golden Hour Magic: For outdoor shoots, the “golden hour” (shortly after sunrise or before sunset) offers warm, soft light that is highly complementary.
- Diffused vs. Direct: Direct sunlight can be harsh. On bright days, seek out open shade or use a diffuser to soften the light.
2. Master the Three-Point Lighting Setup
The cornerstone of professional video lighting, three-point lighting provides a balanced and dimensional look. It consists of:
- Key Light: The brightest light source, positioned to one side of your camera and slightly above your subject. This is the primary illuminator.
- Fill Light: Placed on the opposite side of the camera from the key light, this softer light reduces harsh shadows created by the key light. It should be less intense than the key light.
- Backlight (or Hair Light): Positioned behind and slightly above your subject, this light creates a subtle rim of light around their head and shoulders, separating them from the background and adding depth.
Even if you only have one or two lights, understanding these roles helps you make the most of what you have. For example, a window can serve as your key light, and a white foam board can act as a fill.
3. Diffuse, Diffuse, Diffuse!
Harsh, direct light creates unflattering shadows and can make your subject look flat. Diffusion is the process of spreading out light to make it softer and more even.
- Softboxes & Umbrellas: These are standard accessories for artificial lights, designed to diffuse and broaden the light source.
- DIY Diffusion: White bedsheets, shower curtains, or even tracing paper can be used in a pinch to soften direct light.
- Bounce It: Instead of aiming a light directly at your subject, bounce it off a large white surface (a wall, ceiling, or reflector board). This creates a much larger, softer light source.
4. Control Shadows (Don’t Eliminate Them)
Shadows aren’t inherently bad; they add depth, dimension, and mood to your video. The goal isn’t to remove all shadows but to control them so they enhance your image rather than detract from it.
- Adjust Fill Light: Use your fill light to soften shadows to your desired level, not eliminate them entirely.
- Negative Fill: Sometimes, you might use a black flag or board to deepen shadows on one side of your subject, adding drama and contrast.
5. Pay Attention to Background Lighting
Your subject isn’t the only thing that needs light. A well-lit background helps create separation and interest.
- Avoid Flat Backdrops: Don’t just light your subject and ignore the background. Add subtle lighting to the background to create depth.
- Practical Lights: Lamps, string lights, or even a subtle spotlight on a plant can add visual interest to your background.
- Beware of Hotspots: Avoid bright lights or windows in your background that are significantly brighter than your subject, as they can be distracting and blow out your image.
6. Consider Color Temperature
Light has a “color,” measured in Kelvin (K).
- Warm Light (Lower K): Incandescent bulbs (around 2700K), sunrise/sunset (around 2000-3000K). Creates a cozy, inviting feel.
- Cool Light (Higher K): Overcast sky (around 6500K), fluorescent lights (around 4000-5000K). Can feel more sterile or modern.
- Match Your Sources: Try to use lights with similar color temperatures to avoid mixed lighting, which can make your white balance inconsistent and create unnatural skin tones. If you have mixed sources, you might need gels (colored filters) to balance them out.
7. Use Reflectors and Flags
These simple, inexpensive tools are invaluable for light control:
- Reflectors: Bounce light back onto your subject. They come in various colors (white for natural fill, silver for brighter fill, gold for warmer fill). Great for filling shadows without needing another light.
- Flags/Goboes: Opaque materials (black foam core, cardboard) used to block light from hitting certain areas, creating shadows or shaping the light.
8. Experiment and Learn Your Lights
Every space and every subject is different. The best way to optimize your lighting is to:
- Experiment: Play with light positions, intensities, and diffusion until you achieve the desired look.
- Observe: Pay attention to how light falls on your subject and background. Look for harsh shadows, unflattering highlights, or areas that disappear into darkness.
- Reference: Study films, TV shows, and high-quality YouTube videos. Analyze how they use light to create mood and focus attention.
By applying these tips, you’ll move beyond just “turning on the lights” and start truly crafting the visual impact of your videos. Great lighting isn’t an accident; it’s a deliberate choice that elevates your storytelling and production quality. If you’re looking for ways to better your lighting, check out my recommendations on the best lights in 2025.

No responses yet